Showing posts with label OPI. Show all posts

Saturday, November 2, 2013

Polished

I am getting lucky lately so I have another amazing thing to share with you! I love nail polish and I have hundreds of bottles but I don't get to paint my nails as often as I would like to because of school and work and all that good stuff! The painting part is quick enough but waiting for it to dry without smudging it cleaning or something takes FOREVER! I don't have that much time to wait.

 Yesterday I went to the beauty supply store with my sister because something happened to my top coat and it has been bubbling. I was going to get the same old OPI top coat because it is amazing but something happened! I asked one of the stylists there about top coat because there were a couple of different OPI kinds. What she told me next was too good to be true. She showed me this other top coat and said it was amazing. She told me all about it and how once she puts it on it dries really quickly. She can paint her nails and then be in bed 15 minutes later and not get smudges or sheet lines. My thought was "oh great some awesome top coat that is going to cost me a ton of money I don't have." Well guess what? It was the same price as the OPI top coat. I was still skeptical but it was cheap enough that I bought it to try it.

As you can guess, since I am writing a whole post about it, it WORKED! I put it on and was amazed within a few minutes it was completely dry. I went to bed shortly after because I wanted to see if it was really that good and this morning I woke up with no sheet lines! AMAZING! 

Here it is! My sister sales it if you want some and don't know where to get it!

NO SHEET LINES!

Enjoy!

Friday, July 5, 2013

Stars and Stripes

It has been a while since I posted. I have been so stressed but I am finally getting to the point where I have some time to relax. Summer started off rough with a death in the family, primary stuff, and school stuff. I recently asked to be released from primary and I feel bad but I have not been keeping it together to well. I feel like I have been giving 50% to everything and I cant stand that. I want to give 100%. I miss the kids already but it has been such a relief and a heavy burden has been lifted. Now I have had some time for myself and I have even had time to read(fun books not just textbooks)  and go boating and now some  blogging!

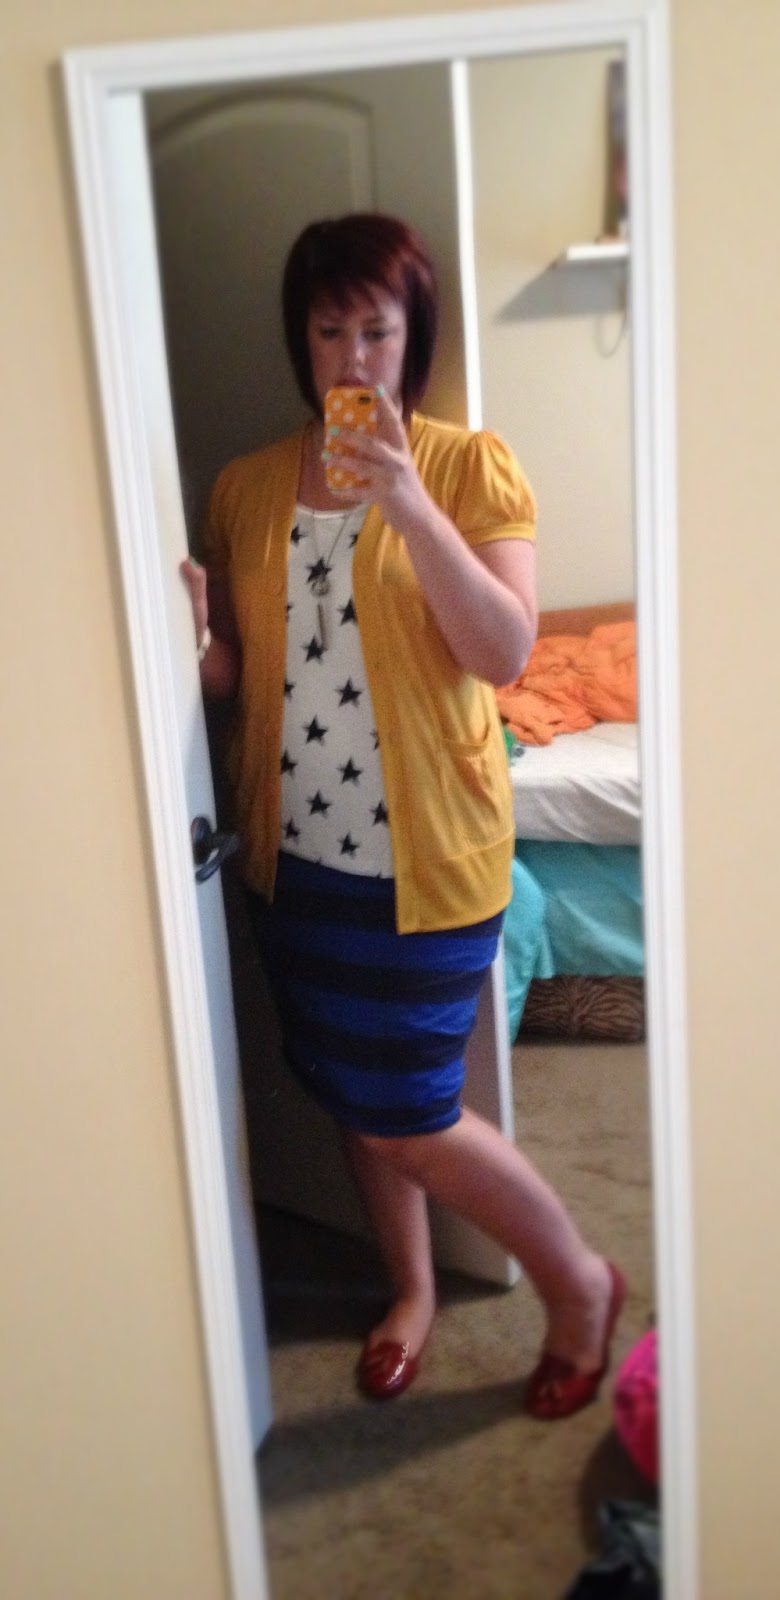
Holidays are just another excuse to pick out fun things to wear. 4th of July in particular is a fun one with how mixing and matching patterns is what is in. Stars and stripes. Perfect right? I know I should have posted this BEFORE the 4th but I figure you can do stars and stripes on the 24th too.

Star shirt from Old Navy, dress from Old Navy, red shoes from Burlington
Cardigan from Bella Ella Curvy, star shirt from Old Navy, striped skirt from Old Navy, red shoes from Burlington

Here is a close up of those red shoes. They were an awesome find at Burlington Coat Factory. I have never been in there looking for shoes before because I usually just stick with Ross but I am so glad I found these. I am not usually a red person but every girl needs a pair of red shoes. Plus how cute are the tassels and oxfordish style is awesome.

Stripes again using tape

Liquid Sand from OPI on my fingers
 I hope you all enjoyed your 4th of July as much as I did and remembered to be thankful for those who help keep our country free.

Enjoy!


Friday, June 21, 2013

Liquid Sand


Again posting from my phone but I gotta post when I have time which is right now but I don't have my laptop. Anyways, I just told you about the matte top coat and now I have to tell you about liquid sand. A while ago I did that relief society thing I told you about and the relief society gave me some OPI nail polish which is my favorite! Even better is that it was something brand new that I hadn't tried before. I have seen it around but hadn't tried it til now. My sister also did the relief society thing so they gave her one to say thanks too. After that of course I had to buy 3 more colors! 

Okay now I have to tell you what it is. It's textured nail polish. It really feels like sand on your finger nails. It looks like glitter toes. It says you can put a base coat on with it but I did not like it with the base coat. It seemed to work better without. It's also great because it only takes two coats and you don't have to put a top coat on and it dries really fast. It's so fun. If you want some my sister also sells it now too. Here are some pictures!
This gold is what the relief society gave me. So pretty!


This is the color my sister got!


And these are the other ones I had to buy. I had to get the blue and red for the 4th of July. The red one is awesome because it actually has stars in it! And then there is the purple. I love purple!


Here is the purple on. It looks better in person! It's what I have on right now!

Monday, May 20, 2013

Nailed It!

Okay here we go! Some of you may not know much about me so as we go along I will share a little bit with you here and there so that you know why I do what I do. I LOVE to have my nails painted. Both toes and fingers. I HATE when my toe nails are not painted so maybe one day out of the year they are naked because I didn't have time to paint them or something.If that happens you will NEVER see them because I hide them. I also love my finger nails painted but sometimes I do not have time to do it. I am very busy because I am the primary president, I work full time, and I am in grad school. I usually don't have time for anything extra but I try to leave time to paint my nails. That is sometimes my only relaxation for the week. I can watch something on netflix and paint my nails. Its my favorite! Anyways I want to show you how to do some fun stuff to your nails that make them look all fancy but it really doesn't take much time or talent. If I can do it anyone can! Its all about the...

TAPE
Step 1: Paint your first coat. . . .Make sure this color is the lighter of the two colors because you will paint over part of it later. This way of painting is a process so after you paint the first coat then let it dry for a few hours or over night is even better. The dryer it is the better!
 
I apologize already for my not so pretty hands and feet but I figure pictures help!

Step 2:  After a few hours add the tape. I didn't get pictures of this because once it is on you have to go quickly but here is what you do: Cut out strips of tape to what ever size of stripes you want. Then stick them on your nails. 

Step 3: Paint your nails again with the tape on. As you can see above on my nails I only painted two because that is where I want my designs. The most important part of this is that you have to take the tape back off while your nails are still WET! I learned this the hard way. I had seen this done on pinterest all the time but it never mentioned taking the tape off while the nail polish is wet. If you wait until it is dry it will just rip off the polish.


 Step 4: After you finish painting and ripping off the tape it is time to WAIT again. I have some awesome stuff that I put over top of my nails that is quick dry stuff to help it dry faster but you will still have to wait for a couple more hours if you want to add a top coat. If not you are done. Easy! (you may have to practice a couple times and don't get discouraged!)
Here are my toe nails today and I painted them last week. They still look great so it was worth the effort!
 Now it's your turn to try. Let me know how it goes and ask questions if you are confused.

If you want to try other stuff here are some pictures that I used tape for as well!


Enjoy!